-
JD Spinoza
JD Spinoza
JD enjoys teaching people how to use ZoomShift to save time spent on scheduling. He’s curious, likes learning new things everyday and playing the guitar (although it’s a work in progress).
- Jan 10, 2026
How To Make a Daily Schedule Template on Google Sheets
The way managers schedule shifts has evolved significantly. Not long ago, schedules were created with pen and paper. Then came spreadsheets like Excel and later Google Sheets.
Today, more advanced and efficient scheduling tools like ZoomShift are widely available. Still, many managers stick with familiar methods, even though they can be time-consuming and prone to errors.
How to make a work schedule in Google Sheets
Let’s kick things off by taking a look at how you can make a work schedule in Google Sheets.
Step 1: Navigate to the Google Sheets template gallery
To start, head over to the Google Sheets homepage. From there, select either “Personal” or “Business.” The sign-up process will differ depending on which one you pick, but the overall Sheets experience will be the same, so it’s completely possible to use “Personal” even for a work schedule.
After that, you’ll see a list of your recent documents. At the top, there’s a section of the page titled “Start a new spreadsheet” that includes templates. It looks like this:
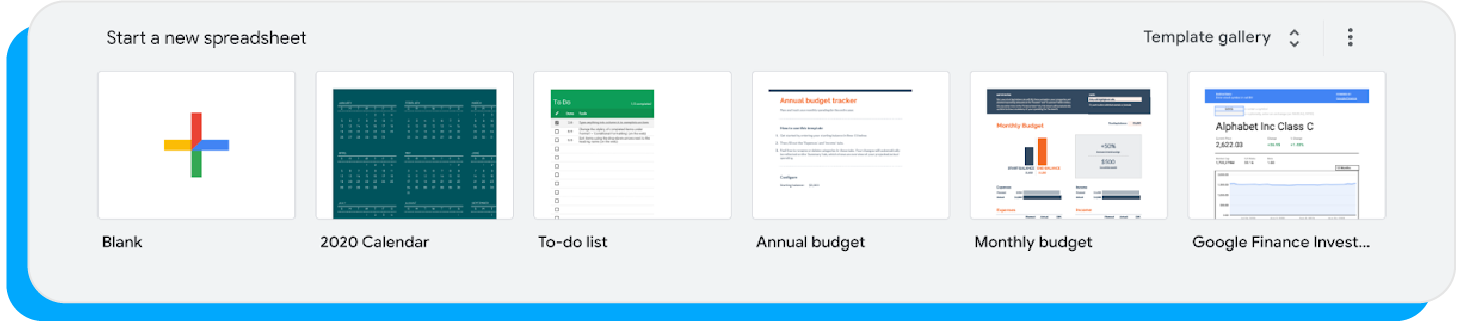
Click “Template gallery” in the top right of this section to get to the template gallery, which looks like this:
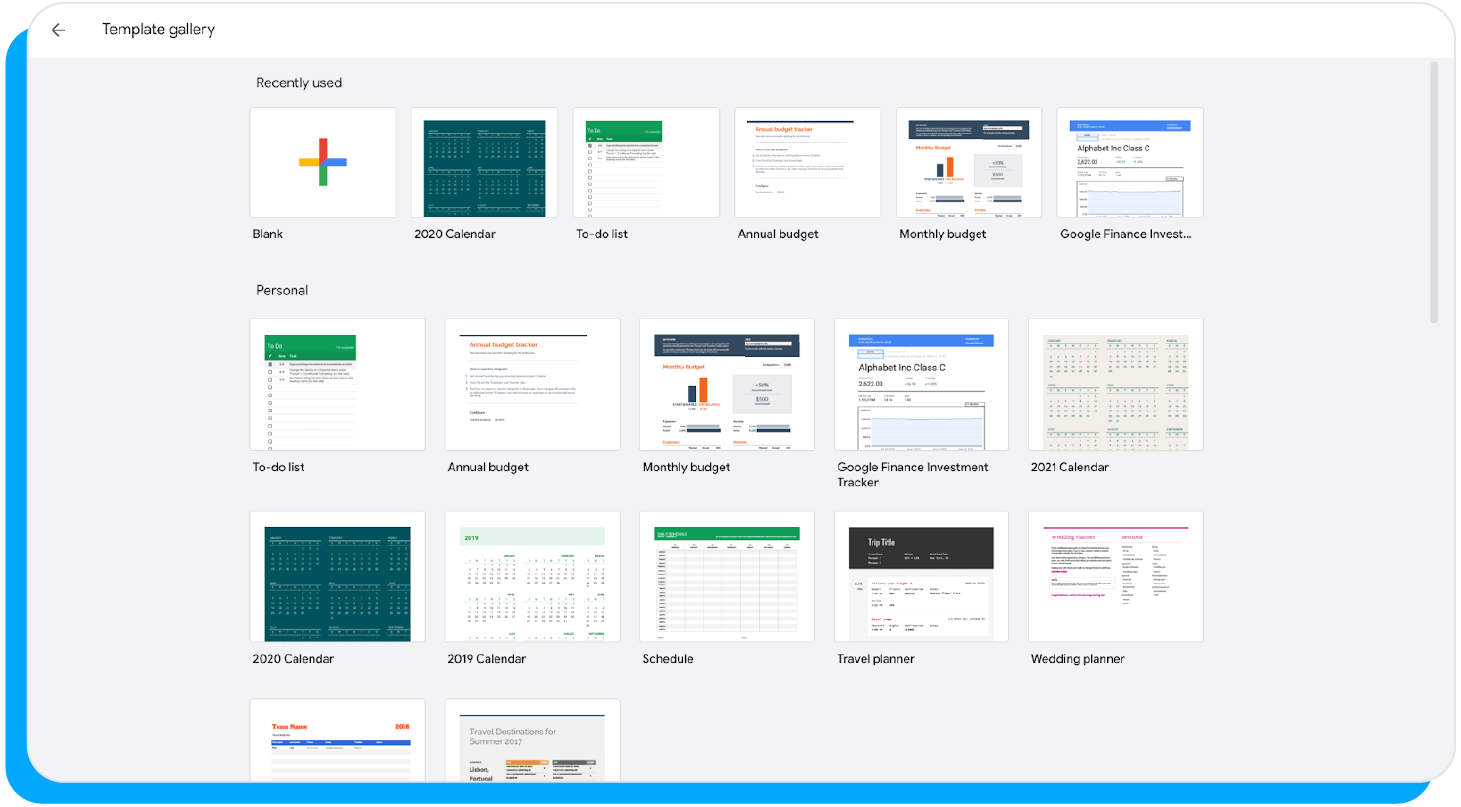
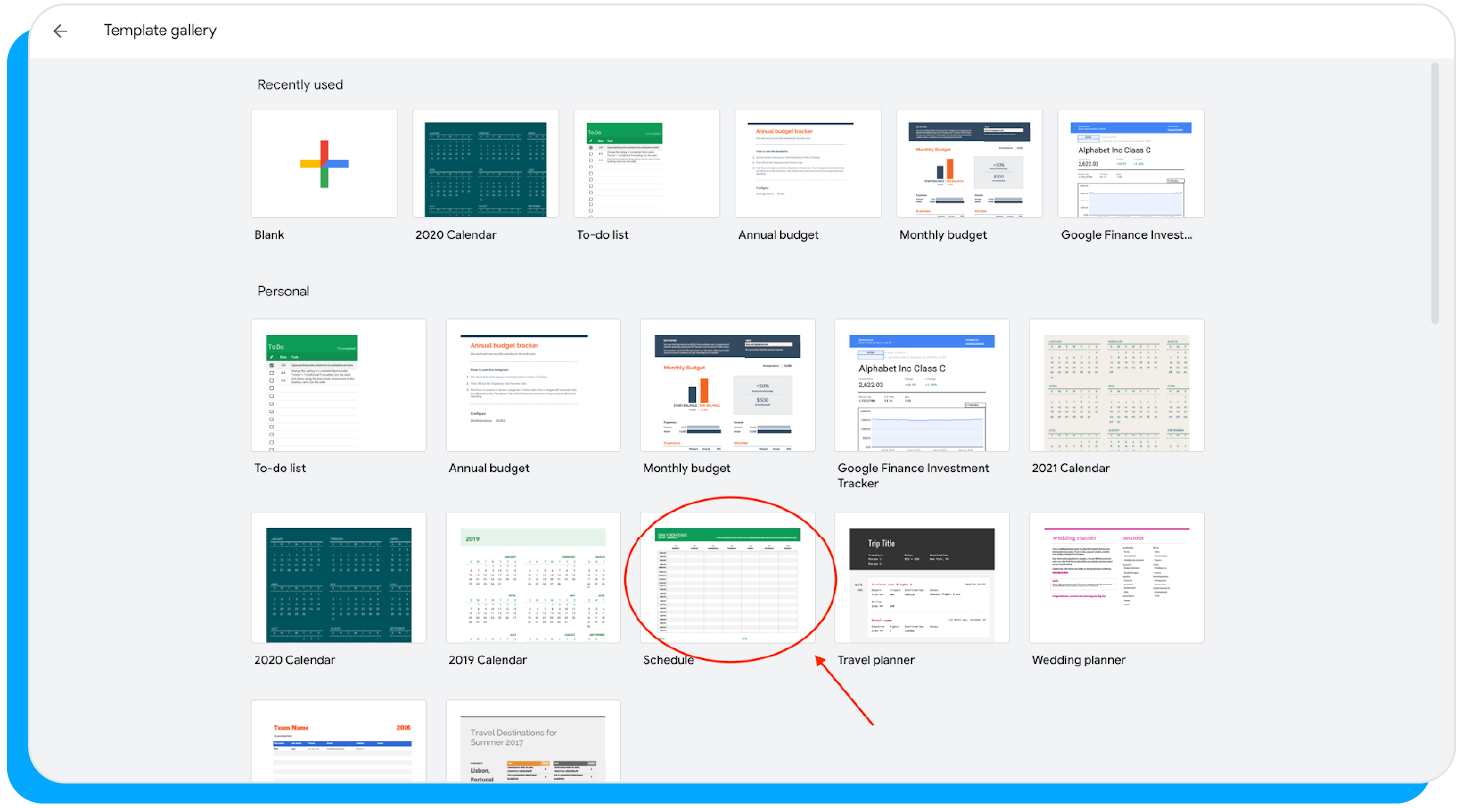
Step 2: Select the “schedule” template
Once you’re in the template gallery, you’ll see the “Schedule” template on the third row in the middle:
Once you’ve selected the template, a new document will be created:

Step 3: Save as a new template
Once you’ve chosen your schedule template, save it as a new template to your Google Drive, with a name like “Daily Schedule Template.” That way, you can copy the template for a new schedule and stay more organized.
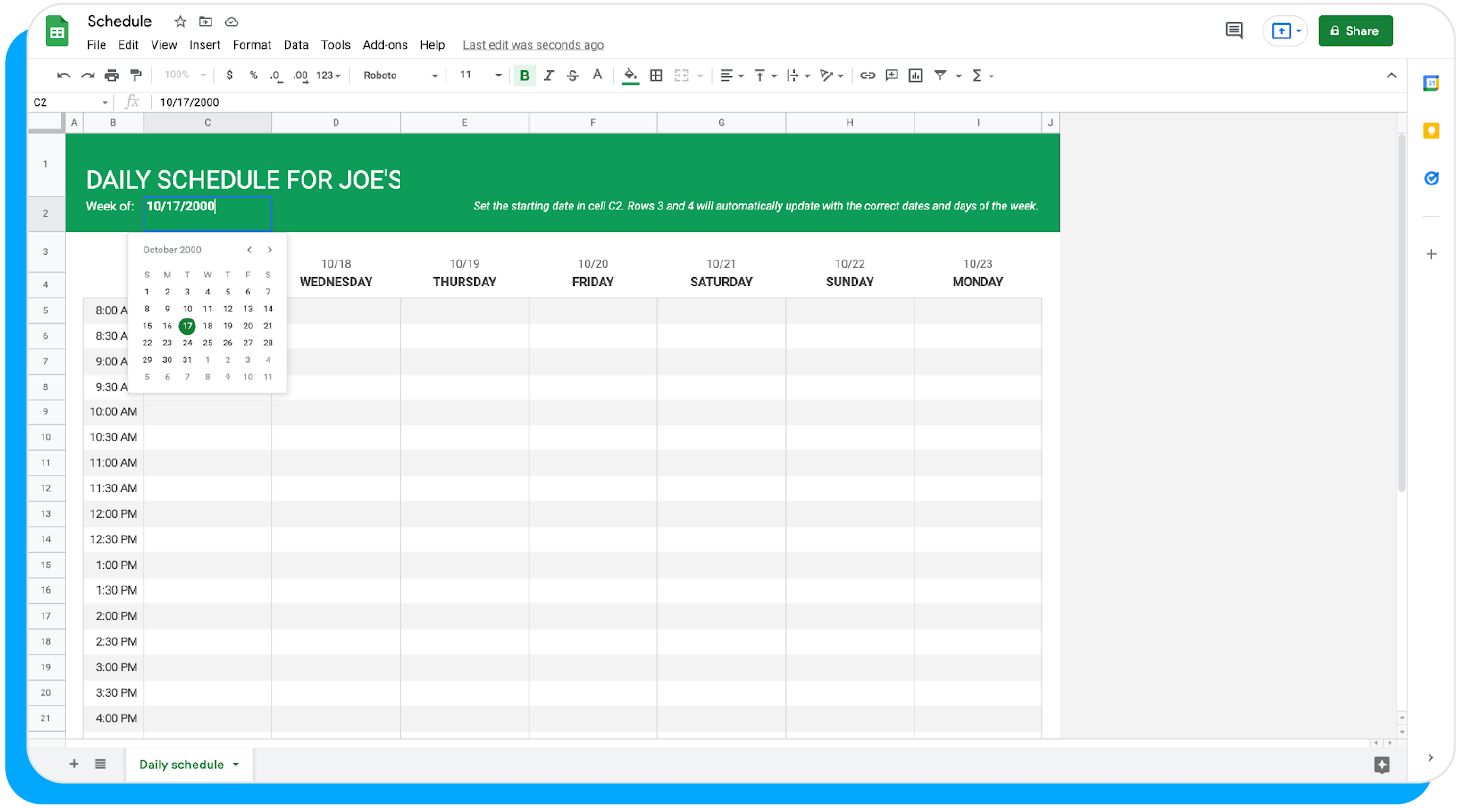
Step 4: Set the starting date and title
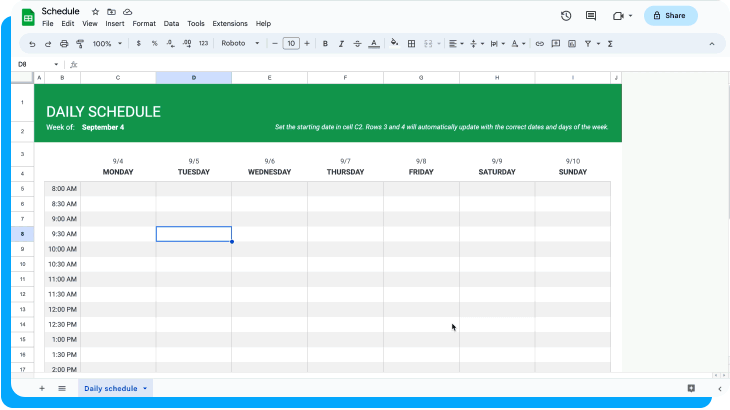
At the top of the schedule, you’ll see the title “Daily Schedule” and “Week of.” At this point, you can set the title to anything you want and input the starting date for your schedule. When you click on the starting date, a dropdown calendar will pop up, and you can use it to select the right starting date, like so:
Step 5: Add the shifts into the sheet
Now that you have your template set up, all you need to do is add in the shifts and fill out your schedule. That could look something like this:
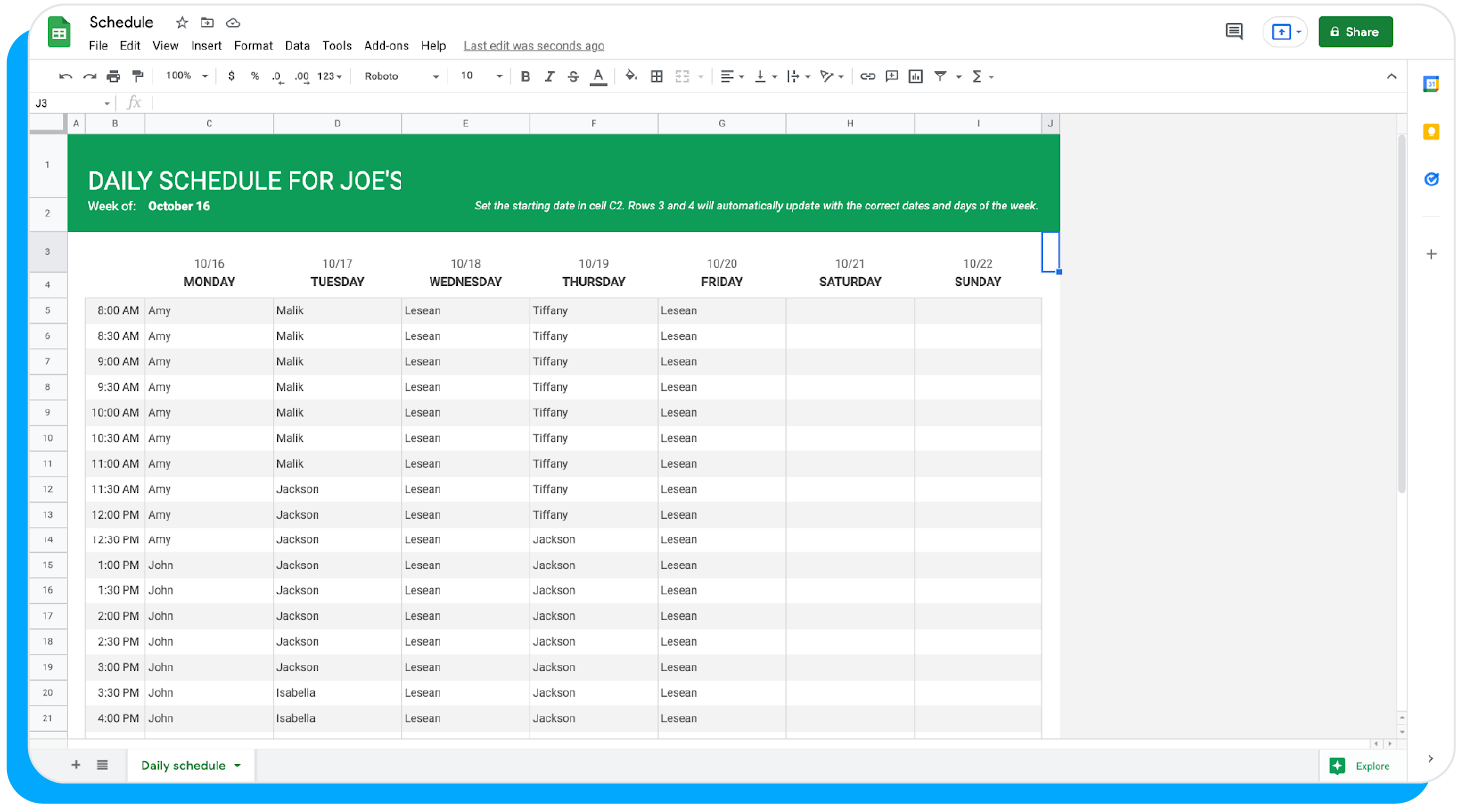
At this point, you’re all set. All you need to do is fill out the schedule as you see fit.
How to use a Google Sheets template
Once you’ve created a Google Sheets template, you’ll likely want to fill in the following:
- Company
- Department title
- Week start date
- Task start times and time periods
- Names
You may also want to include notes under certain events, like meetings, or work-assigned details. The goal of the scheduling template is to act as a go-to resource that holds your team accountable to execute tasks and push projects forward.
Tips for using Google Sheets
You can make your daily schedule template more individualized and effective with a bit of customization. Use the following tips to make your schedule template more user-friendly and unique to your needs.
1. Customize with conditional formatting
Conditional formatting can be helpful for highlighting cells that contain the same value.
- Step 1: Select the entire Sheet. Then select “Format” and go to “Conditional Formatting.”
- Step 2: In the drop-down menu, label “Format cells if,” and select “Text Contains.”
- Step 3: Type in the keyword you would like highlighted when it’s manually entered. Examples are “confirmed” or “tentative.”
- Step 4: Choose the color you would like to use to highlight the cells with your keyword.
- Step 5: Press “Done” and repeat the process above for other keywords.
With conditional formatting, you can color code your schedule — including tasks, follow-ups, and important meetings.
2. Access your schedules offline
With Google Sheets, you have the ability to modify and use your schedule without downloading it to your computer. To do so, simply turn on the feature on your Google Chrome browser.
- Step 1: Install the Google Docs Offline extension to Chrome.
- Step 2: Navigate to your Google Docs and select “Settings.”
- Step 3: Toggle the “Offline” switch on.
Now you can use and edit your schedule whether you’re flying on a plane to a convention or your power is out and you don’t have access to Wi-Fi.
3. Freeze rows and columns
Freezing specific rows and columns in your Google Sheets schedule can help you see dates and times better if you have a large schedule. “Freezing” means that the row or column will stay on your screen when you scroll around the Google Sheet.

- Step 1: Select the column you want to freeze.
- Step 2: Select “View,” scroll down to “Freeze,” and “Up to current column.”
You can repeat this process with rows as well.
Downloadable work schedule templates
The schedule template included with Google Sheets is a good place to get started, but it isn’t very fleshed out. To help improve the spreadsheet scheduling experience, we’ve put together a new and improved spreadsheet schedule template, which includes helpful additions, like cost and overtime calculations.
Disadvantages of scheduling with Google Sheets
Making work schedules with Google Sheets may be workable, but it’s far from ideal. Here are just a few reasons why Google Sheets is not the best choice for work schedules.
1. Schedule updates aren’t pushed
Compared to offline spreadsheet programs, like older versions of Microsoft Excel, Google Sheets has a major advantage in that everyone that you share the schedule with can see changes in real time.
However, these updates aren’t pushed to everyone, meaning your team members won’t be automatically notified every time you make a change. That means that if one of your team members checks the schedule on Saturday night, and you change their shift on Sunday morning, they could show up for the wrong shift if you don’t remember to send an email.
When you use software that includes push notifications, you can eliminate this problem.
2. More error-prone due to lack of automation
Modern scheduling software doesn’t force you to enter every little detail by hand — if you change one part of the schedule, other related parts will automatically update for you. Plus, more advanced software can also alert you if you’re scheduling too many shifts and getting into overtime territory or making another potential error.
Unless you’re a spreadsheet expert, you won’t be able to get Google Sheets to do this type of automation, so you’ll be hurting your scheduling efficiency by relying on it.
3. More time-consuming
When you use a spreadsheet, you have to enter every shift manually, and that takes a lot of time. With dedicated scheduling software, you can use a speedier drag-and-drop schedule builder instead.
Plus, if you need to notify teammates of new updates, you’ll have to manually send out emails, whereas a modern scheduling software could automatically push notifications to your team members.
4. Lacks modern features
Not only do spreadsheets lack the features mentioned above, but they don’t have other useful tools, like shift swaps, GPS time tracking, PTO management, and more. All of these features work together to save you time and make your business run like a well-oiled machine.
ZoomShift: An employee scheduling alternative
If you’re ready to upgrade your scheduling system, ZoomShift has you covered. ZoomShift’s drag-and-drop scheduler makes it easy for managers to schedule shifts and employees to mark which shifts they are available or unavailable to work. With this framework laid out, managers can assign shifts much more quickly by simply accepting and rejecting shift and PTO requests.
When the schedule is ready, all you need to do is hit publish to automatically send out notifications to the team. From there, you can use ZoomShift’s time tracking features, including GPS tracking, to verify that employees have completed their shifts.
ZoomShift Advantages
Now that you have an idea of the issues with spreadsheet scheduling, let’s take a look at some of the ways ZoomShift can help fix those problems.
1. Reduces scheduling errors
By sending out push notifications when shifts are changed, alerting you when you’re getting into overtime territory, and preventing other issues through automation, ZoomShift can reduce the chance of human error causing problems with your schedule.
2. Drag-and-drop scheduling is more efficient
When you use a spreadsheet, you’ll need to enter each and every shift by hand. ZoomShift, however, has an easy-to-use drag-and-drop interface, which makes scheduling faster and easier than ever.
3. Includes time tracking features
Making the schedule is half the battle — the other half is ensuring your team sticks to it. ZoomShift includes time tracking features, including GPS tracking, that keep tabs on when your team members are showing up for work. That way, you can always ensure your employees are working at the right time.
4. Employees can take more control using shift swap
As a manager, handling employee absences, shift swaps, and time off can be difficult. But with ZoomShift, employees can take more ownership of their scheduling, which moves some work off the manager’s table.
Employees who need to swap shifts can simply post the shift they want someone else to cover on ZoomShift, and another team member can then claim it. And it can be done without any manager involvement.
5. PTO management
Say goodbye to manual PTO management. ZoomShift automatically calculates how much PTO each team member accrues and allows managers to easily sign off on time-off requests. Plus, employees who are approaching their PTO limits will get notified so they can better manage their time off.
FAQ
Below are commonly asked questions about using Google Sheets for scheduling employees.
Is Google Sheets good for scheduling?
Google Sheets is an adequate choice for scheduling due to its collaboration tools. However, Google Sheets does come with some drawbacks, like manual input and lack of PTO management.
Using a tool like ZoomShift can provide you the benefits of using a tool like Google Sheets while offering other features like shift automation and time tracking.
Does Google Sheets have a schedule template?
There are schedule templates available on Google Sheets that can be modified to your ideal schedule layout. You can customize the schedule templates by adding start and end dates and adding time periods.
Key takeaways
Spreadsheets may have once been the go-to option for scheduling, but today there are far more advanced tools available that can significantly improve efficiency.
If you’re ready to take your scheduling to the next level, click here to learn how ZoomShift can make your company more productive in 2026.
JD enjoys teaching people how to use ZoomShift to save time spent on scheduling. He’s curious, likes learning new things everyday and playing the guitar (although it’s a work in progress).